Photographing black pets is a challenge. While it would be nice to have a professional following you around all day every day, realistically that’s just not going to happen. To get good shots of your black pet you don’t need a fancy camera – if you follow this advice you’ll find that your pictures improve immediately, and with a bit of practice you can start to really capture your pet without the dreaded “black blob” effect.
These tips are aimed at everyday pet owners with point and shoot cameras – if you have any advanced questions, please feel free to email me or leave a comment! I’ve included my setting for each shot in the captions.
Before we get into the nitty-gritty, just let me say that there is no magic formula for getting a good photo of your pet. The best thing you can do is to know your camera well, watch what the light is doing and practice, practice, practice.
Lighting is everything
Photographing your subject face on in the sunshine is never a good idea, and it’s a particularly bad one with black pets. Harsh sunlight throws strong shadows, and it confuses your camera’s internal metering system something awful. Good photos on a bright sunny day are very tricky to pull off, so don’t feel bad if you can’t quite get there. You can use your flash on a bright sunny day to fill in the shadows – however there is an easier way.
For best results, move your pet to a nice shady area, or wait for cloud to roll over. This will get rid of any shadows and cast a soft even light over them. If you have to shoot outdoors without cover, wait until an hour or two before sunset, the light will be soft and golden. Position your pet so that the sun is coming from behind them, lest they end up squinty eyed and ruin the shot! Another trick is to pose your pet next to a window with soft diffused light – often a net curtain will be sufficient. Angle their face towards the window so that the soft light is highlighting their features.
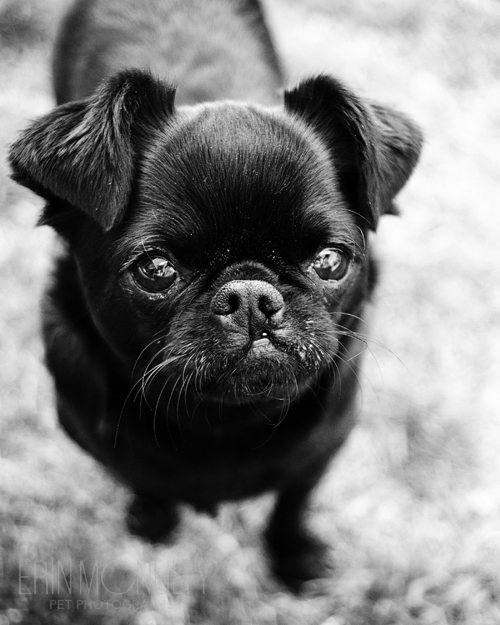
This picture of PK was taken on a bright sunny day but in a shady spot. As a result there are no shadows and you can see all the detail in her fur. Technical notes – shot at f2.8, ISO 200, 1/400th.
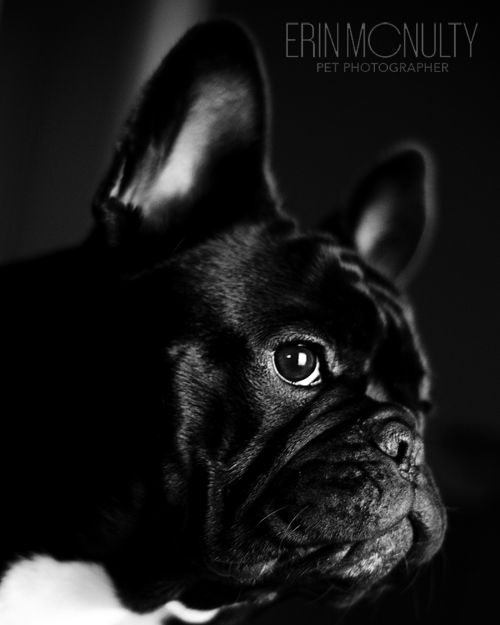
This shot of Bentley was taken with him sitting on the bed, facing a window with a net curtain over it. Note how the soft light has highlighted his facial features. If this was taken in direct sunlight you would loose all the lovely wrinkles. Technical notes – shot at f1.8, ISO 200, 1/60th.
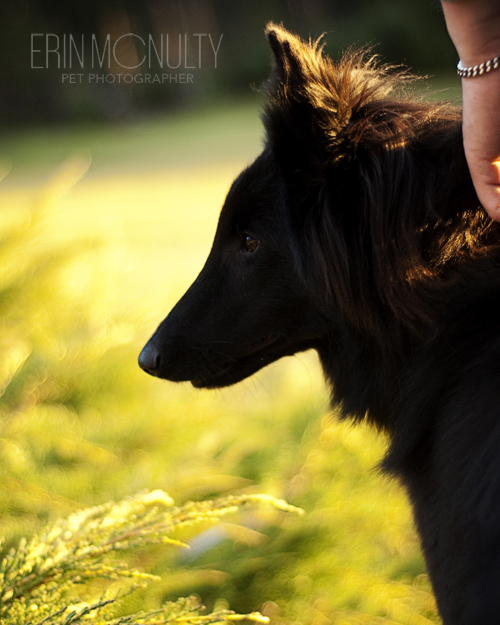
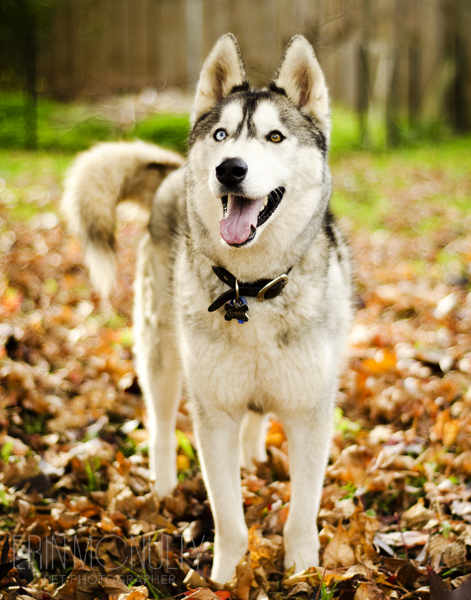
This picture was taken about half an hour before the sun went down, see how the light is golden and highlighting the fur. Technical notes – shot at f2.0, ISO 200, 1/320th.
Play with complimentary colours
Everything looks good with black, but some colours will work better than others. I tend to avoid white backgrounds. When a camera sees black and white next to each other, it can get very confused, and has to compensate. Often this results in a nice white background but with a black blob. I also avoid anything too close their coat colour.
My favourite trick is to pose the pet near a background that plays off the colour of their eyes – this trick works well with all coloured pets. The nice part of this technique is that it makes the photo really pop without being too obvious why. Always make sure your background is free from distracting toys or objects, zoom in really close if you have to.
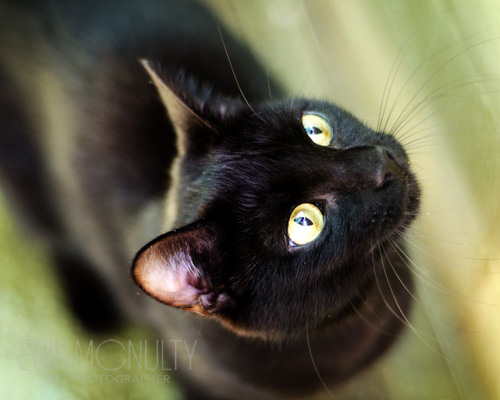
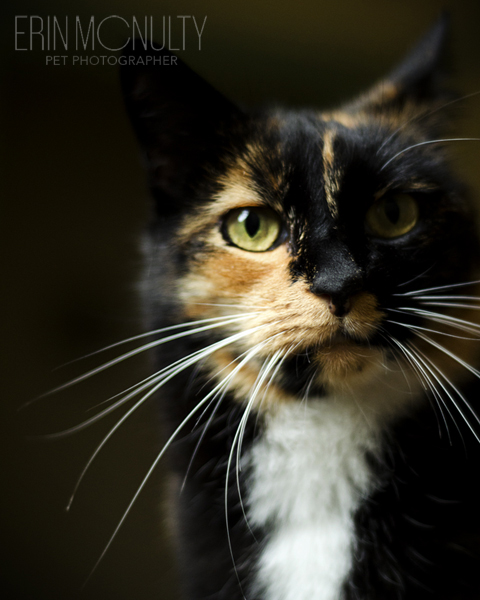
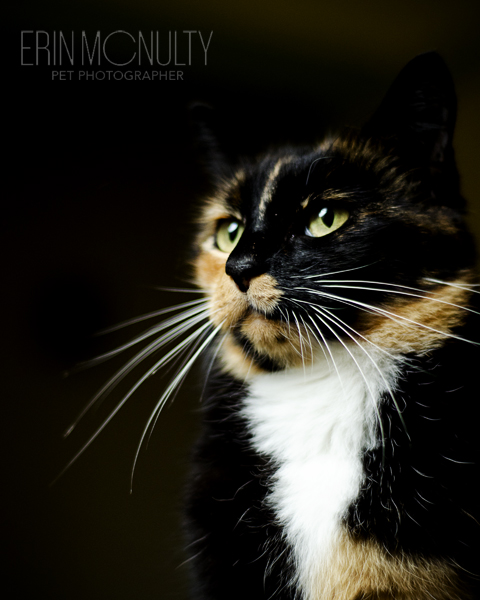
Pixie has such pretty pale green eyes that I wanted to make sure the background would set them off. This was taken in a shelter environment, so I was careful not to get any cages or toys in the background. That way her eyes are the main focus. Technical note – shot at f1.8, ISO 800, 1/200th.
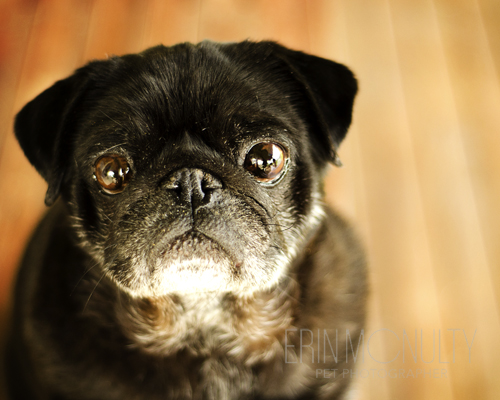
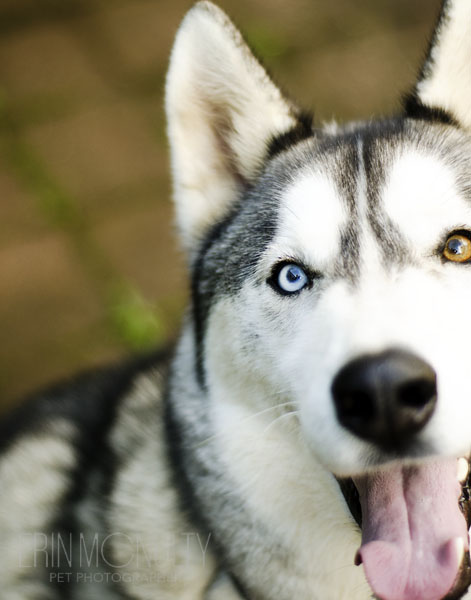
Super handsome Arnold has the most wonderful warm brown eyes, so I sat him on a bench that was made of a warm coloured wood. Technical note – shot at f1.8, ISO 400, 1/500th.
A note on indoor shots at night – I never do these because the shots do not have the light quality that I like in my photos. However if you do want to do this, find as much light as you can, make sure your flash is off, and hold your camera very steady.
Try black and white
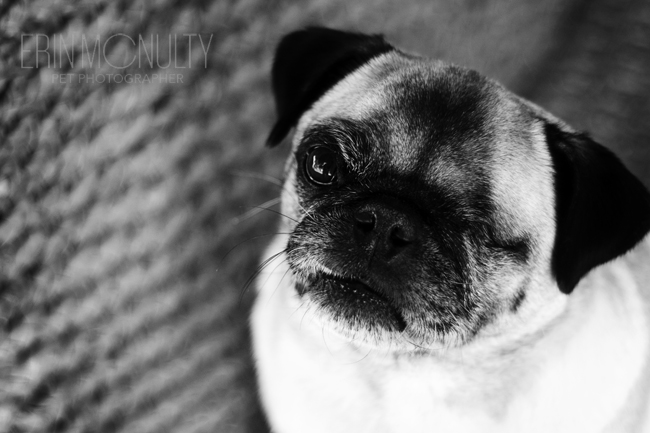
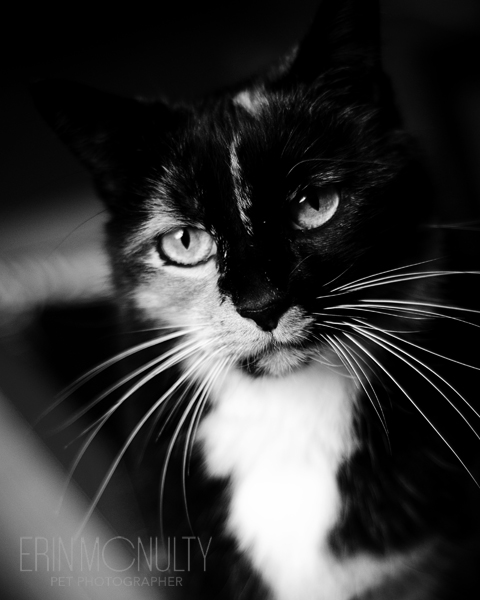
Black pets always look awesome in black and white! There are a huge amount of programs that will convert your picture into black and white, some of the best basic ones are Picasa, iPhoto, and Photoshop Elements. Make sure you copy your photo before converting it so that you retain the colour one as well.
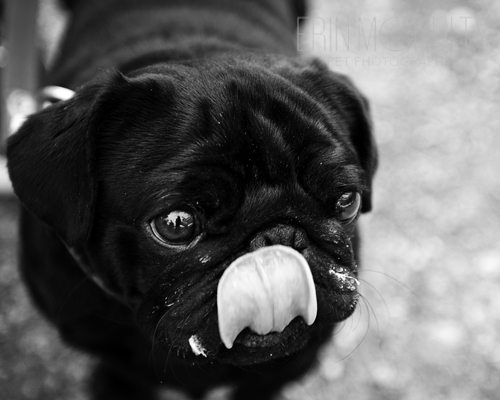
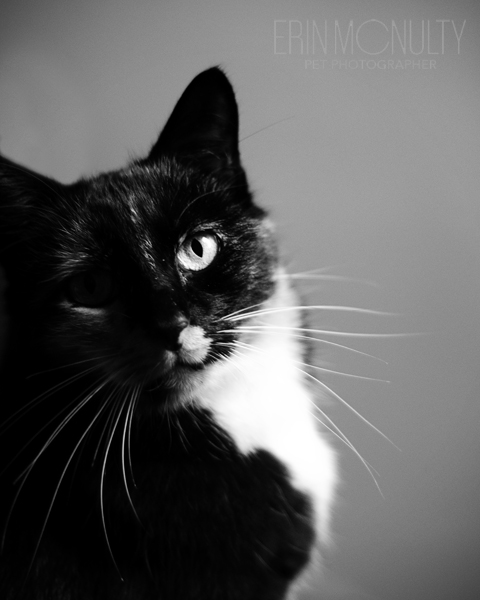
Marli here looks super cute in black and white. It also helps accentuate the vanilla slice all over his face! Technical notes – shot at f2.8, ISO 200, 1/500th.
Thanks so much for reading everyone – please email me or post a comment if you have any questions! I’d also love to see your shots over on my Facebook page

